Followers

Showing posts with label DIY Bracelets. Show all posts

Tuesday, July 31, 2012

DIY ROCK NECKLACES!

Make these cute little charms  out of crushed rocks or crystals!

Hey guys, I am really excited about this next DIY tutorial because I got to smash things to pieces with a hammer! This was so incredibly fun for me because, well seeing rocks explode is fun! But I wasn't just destroying pretty rocks for nothing, I was putting them to good use. I had a whole bunch of pretty crystals that would be perfect to sparkle in the light around someone's neck!

You will need those little glass tube charms that they sell at any craft store. I just found the ones in my crafts store which were at the very bottom of the jewelry shelf, all dusty and old. But for about $1.50 each (two came in a pack).
The rocks I used were (from top) pyrite, also called fools gold, a home-grown crystal from a cheesy little kit, and that mystery rock that I found in my rock box! I don't know what its called but I will refer to it as rainbow rock because thats what it looks like :). I also made a blue and yellow necklace out of the same home-grown crystal stuff. I used those because I liked how it got really light and pastel-like!
Now for the DIY, it is pretty self explanatory but just in case you don't understand I gave it captions.
1) Get your hammer out.
2) Give it a good whack with your hammer...
3) Now lightly tap it (depending on your rock, mine was easy to break) and try to get it into a small chunks or a powder at least small enough to fit in your glass container.
*one important tip: don't force the rock in, or else it might end up like this:
Now that isn't pretty! :( And I had already filled it with pretty rainbow rock!

Now hang it from chain, I like the look of really thin chains so thats what I used! I've been meaning to try magnetic closure but the classic little hook thingy works well too.  So with useless old rocks or crystals, you can make a beautiful necklace that will have people coming up to looking at your interesting piece of jewelry!

woven friendship bracelet tutorial


i love the summer friendship bracelet trend that i keep seeing in blog land,
so i thought it would be fun to share with you another way to weave a friendship bracelet.
one of the parents at work showed me this technique of using a circular cardboard loom
and i love how quick it goes, you can easily finish a bracelet in one sitting.


SUPPLIES

- cardboard
- something small and circular (like a teacup or ramekin)
- scissors, ruler, pen
- embroidery thread in pretty colors, thin yarn, or ribbon


trace a circle onto your cardboard, and use a ruler to draw 8 lines


cut a small ways into each line, between 1/2 an inch to an inch
and make a hole in the middle of the circle where all the lines intersect.


cut 7 strands of embroidery floss, about 24 inches long and tie them together with a slip knot.
pull your thread bundle through the hole in your cardboard
with the knot right up next to the hole
and use a little piece of tape to hold it in place while you start.


now for the fun part!
arrange each of your 7 strands, tucking them into the slits you made in the cardboard.
there should be one slit left open.
*hold your loom so the open slit is in front of you,
*and count one, two, three strings clockwise
*take that third string out of its slit,
*and place it in the empty slit.
turn the loom so that the empty slit is in front of you once again,
and repeat the *starred* steps until your bracelet is long enough to wear!


once your bracelet gets going, you can remove the tape
holding the bracelet against the loom as you go if you want to keep it tight while you weave.


and that's really all there is to it!
i love how they look like little woven  ropes,
and how the colors look so fun and jumbled.
happy weaving!

OppiKoppi DIY: Easy Friendship Bracelets


I’ve decided to dedicate my DIY posts for the next two weeks purely to OppiKoppi posts. OppiKoppi is like Pretoria’s answer to Coachella. It is a weekend long music festival in the middle of nowhere, with hipster fashion to be sported on every willing sole.

Here is the tutorial on how to make this (it seems tricky in the beginning but is really simple once you get the hang of it)
How to make the easiest friendship bracelets (ever!!):

  1. Supplies: Embroidery thread and a piece of cardboard
  2. Cut the cardboard into a circle, and cut 8 (eight) groves onto the edges
  3. Get 7 (seven) pieces of string together. Obviously the ticker the tread, the bigger the bracelet.
  4. Tie the 7 pieces together, thread it through the eye of the cardboard, and put a thread in the groves. Because there are 7 threads and 8 groves, one grove will stay open.
  5. Your starting position (and when ever you get stuck, go back to this position): the open grove has to be at the bottom.
  6. Take the third thread out of the grove (two pieces of thread in between open grove and the third thread), a place it in the open grove.
  7. Move the now open grove to your starting position (open grove at the bottom) and take the third thread and place it in the open grove
  8. Continue this process until your braid fits comfortably around your wrist.
  9. Like my previous posts (here and here), you can embellish your bracelets with prettiness!

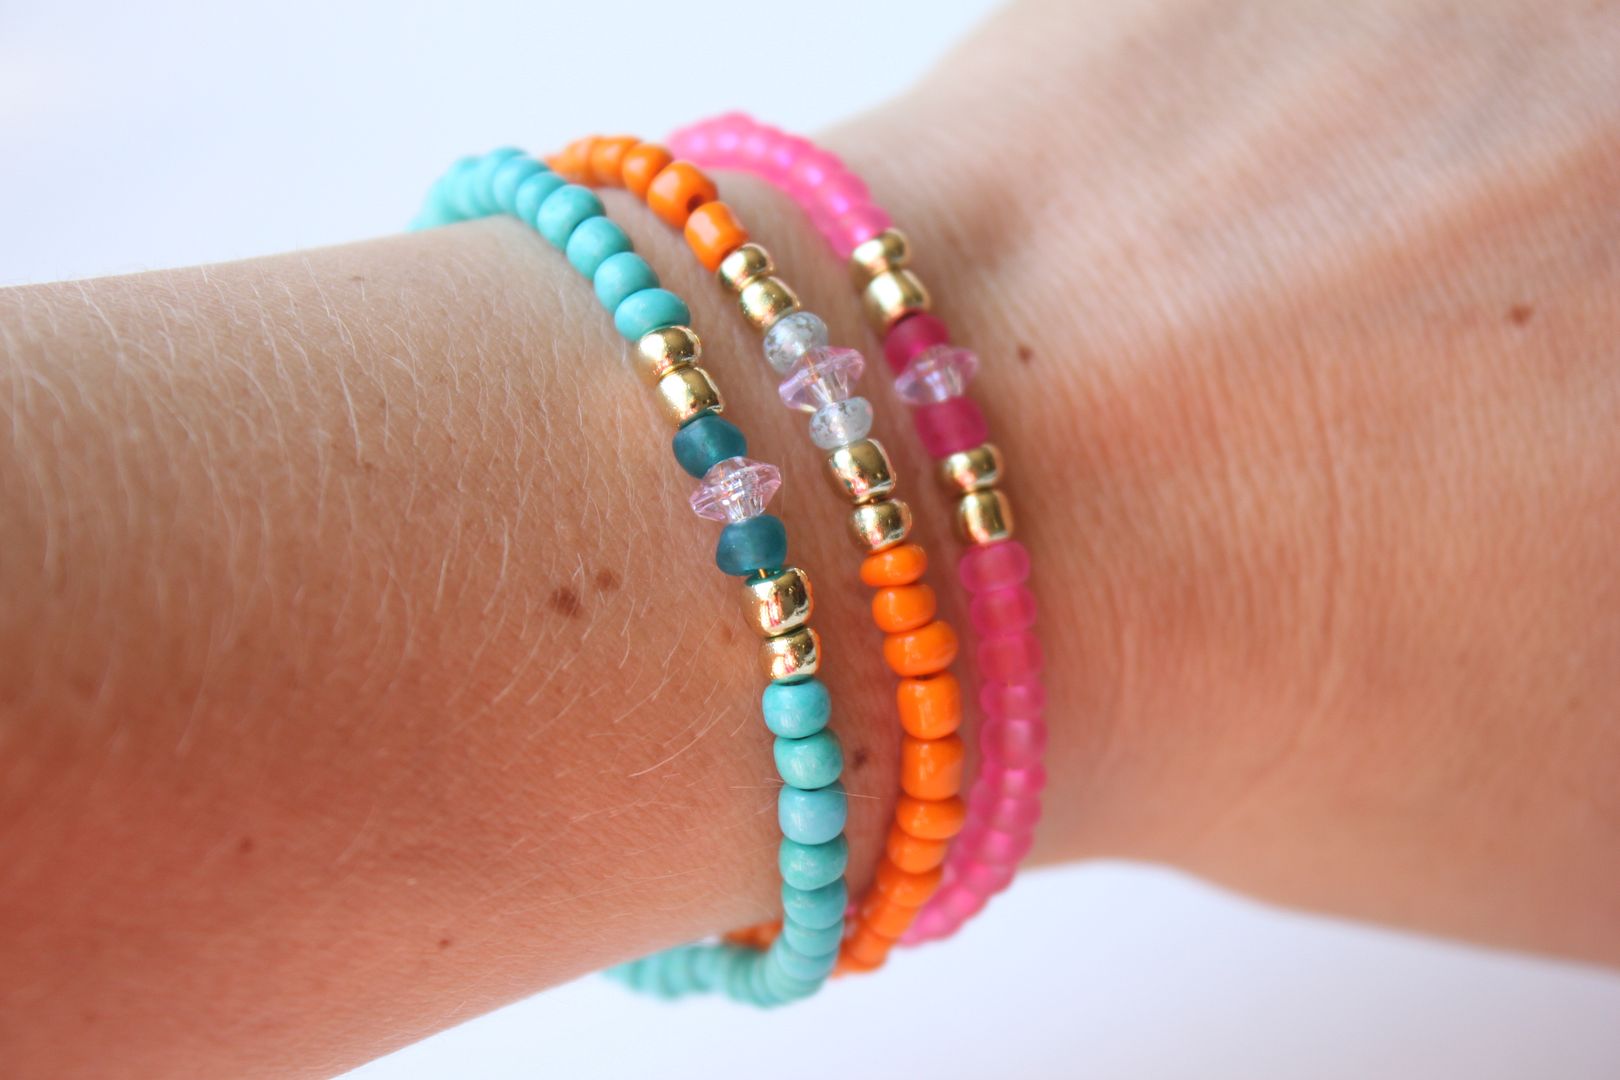
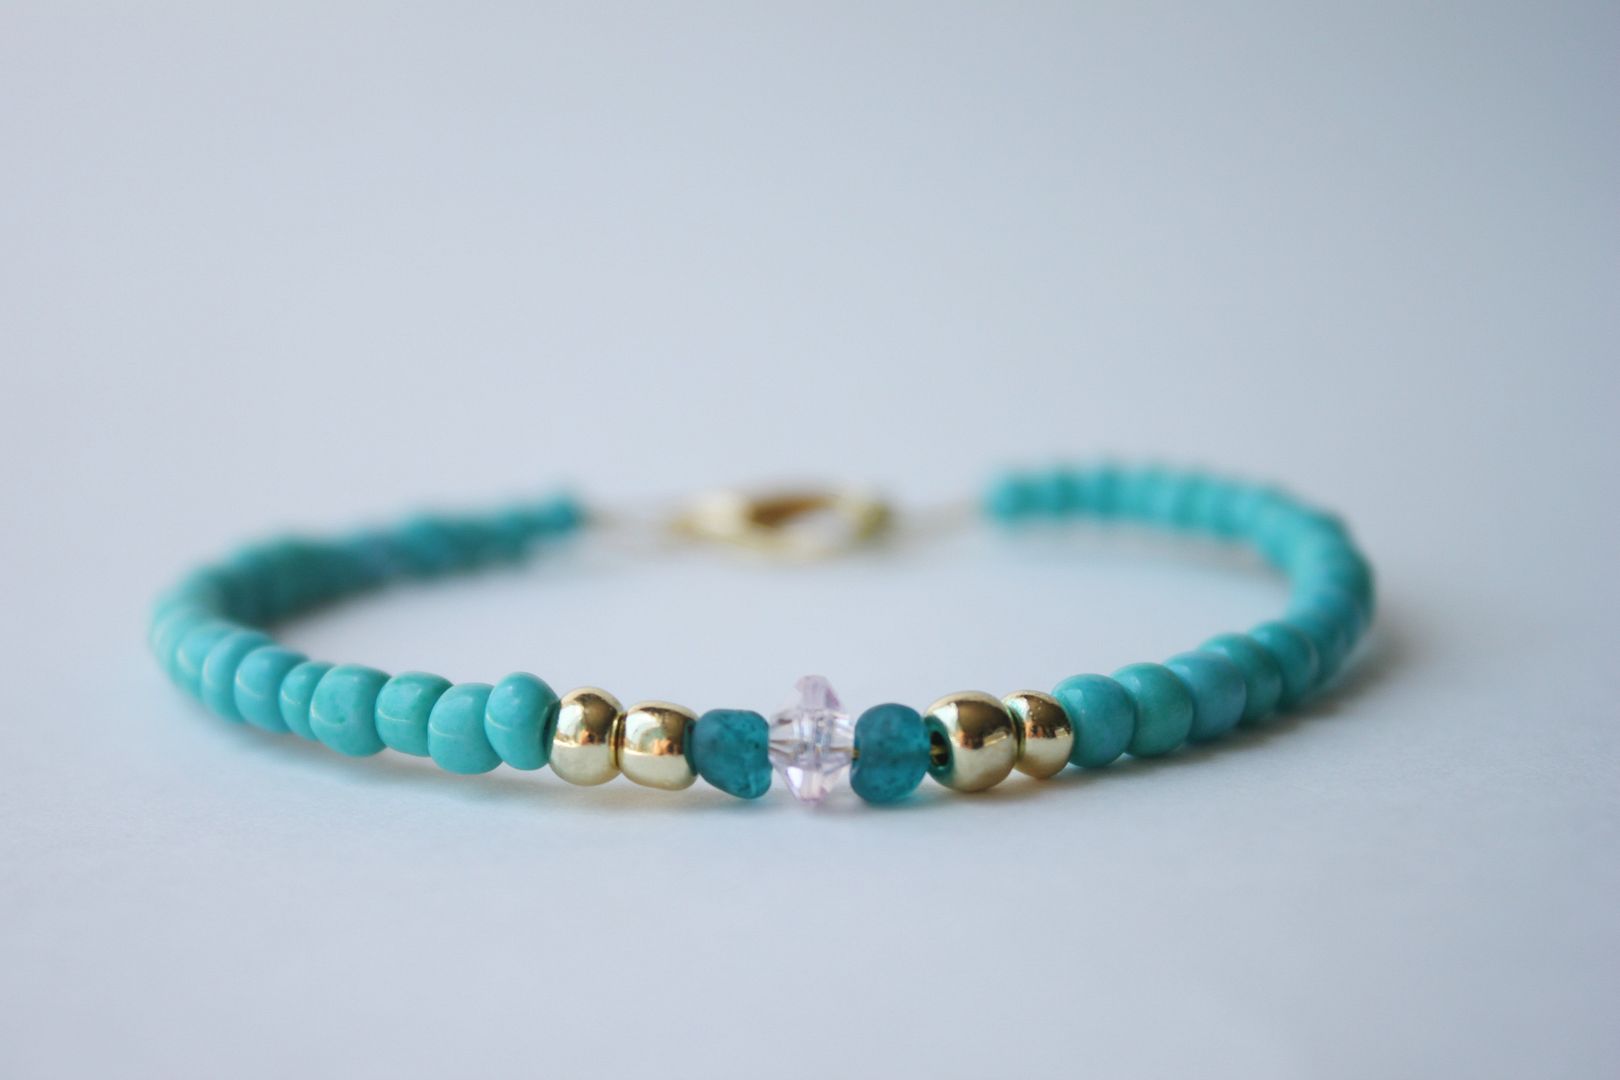
DIY Glass Beaded Bracelets

From the ages of 7-12 I would spend a week each summer at Camp Conrad-Chinnock, a camp for type 1 diabetics. Some of my favorite childhood and pre-teen memories were made there...like my first kiss :)

Every day each cabin had a specific time where they would get to go to the craft shack. I always looked so forward to this. It was like a kid's craft heaven. There was everything you could imagine there. My favorite things to make were lanyards and glass beaded necklaces and bracelets. I always came home with a suitcase full of these two things. While glass beads aka seed beads have somewhat of a nostalgic feel to them I also think they can be fun for adults to wear as well.

In all honesty I had no idea how in the world you made bracelets with fancy things like lobster clasps and jump rings before this project. Thanks to the ladies working at Hobby Lobby I now know, although I am pretty sure they wanted to (run) be paid extra on the days where I came in with questions.

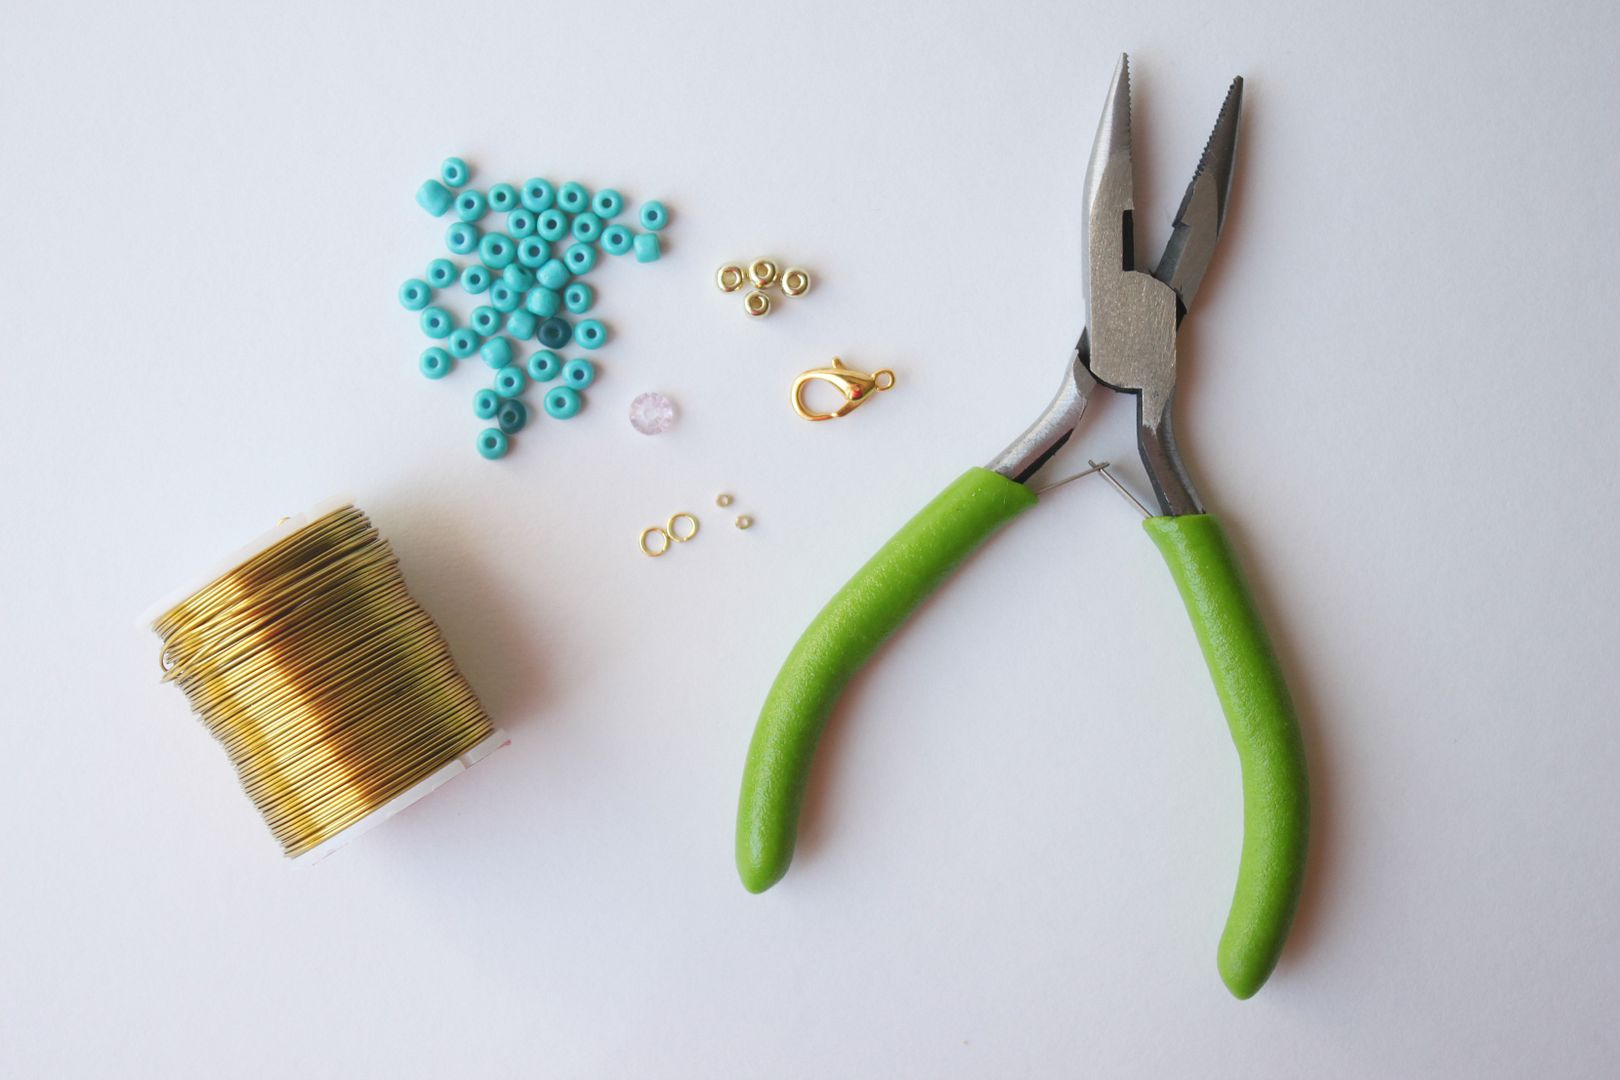
What you will need:
  • Colorful glass beads+ spacer beads (I used gold)
  • Gold beading wire
  • Lobster clasps
  • Crimp beads
  • Jump rings
  • Chain nose pliers
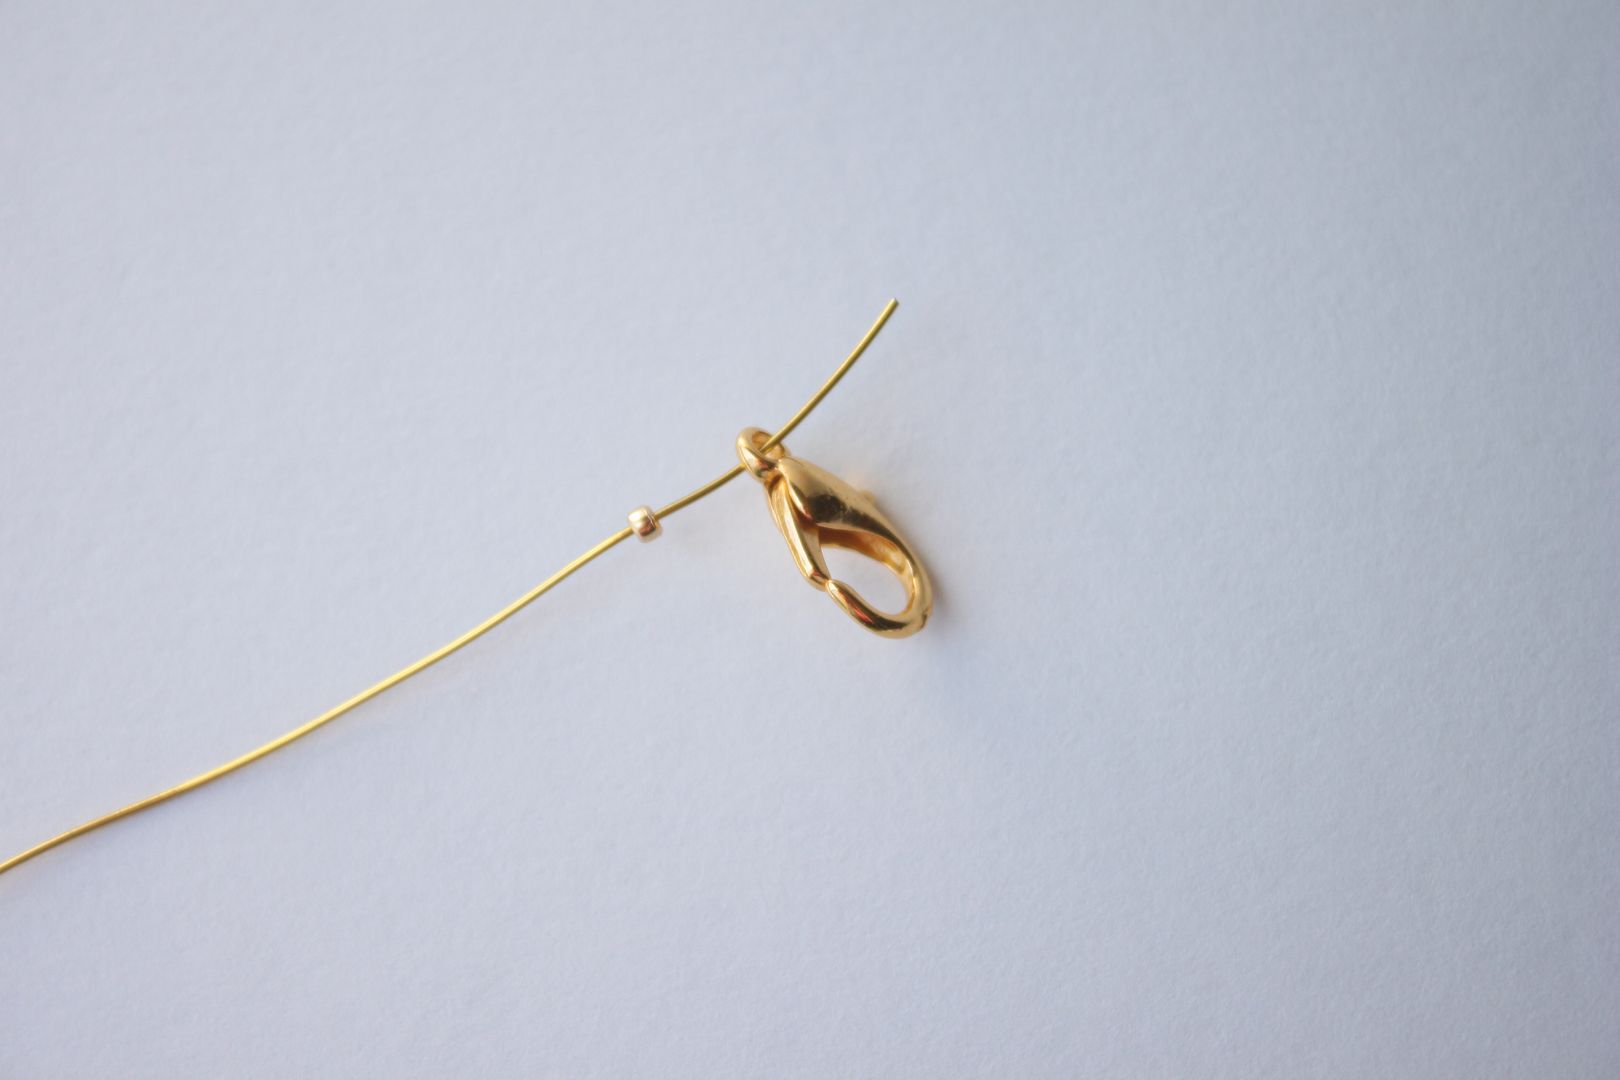
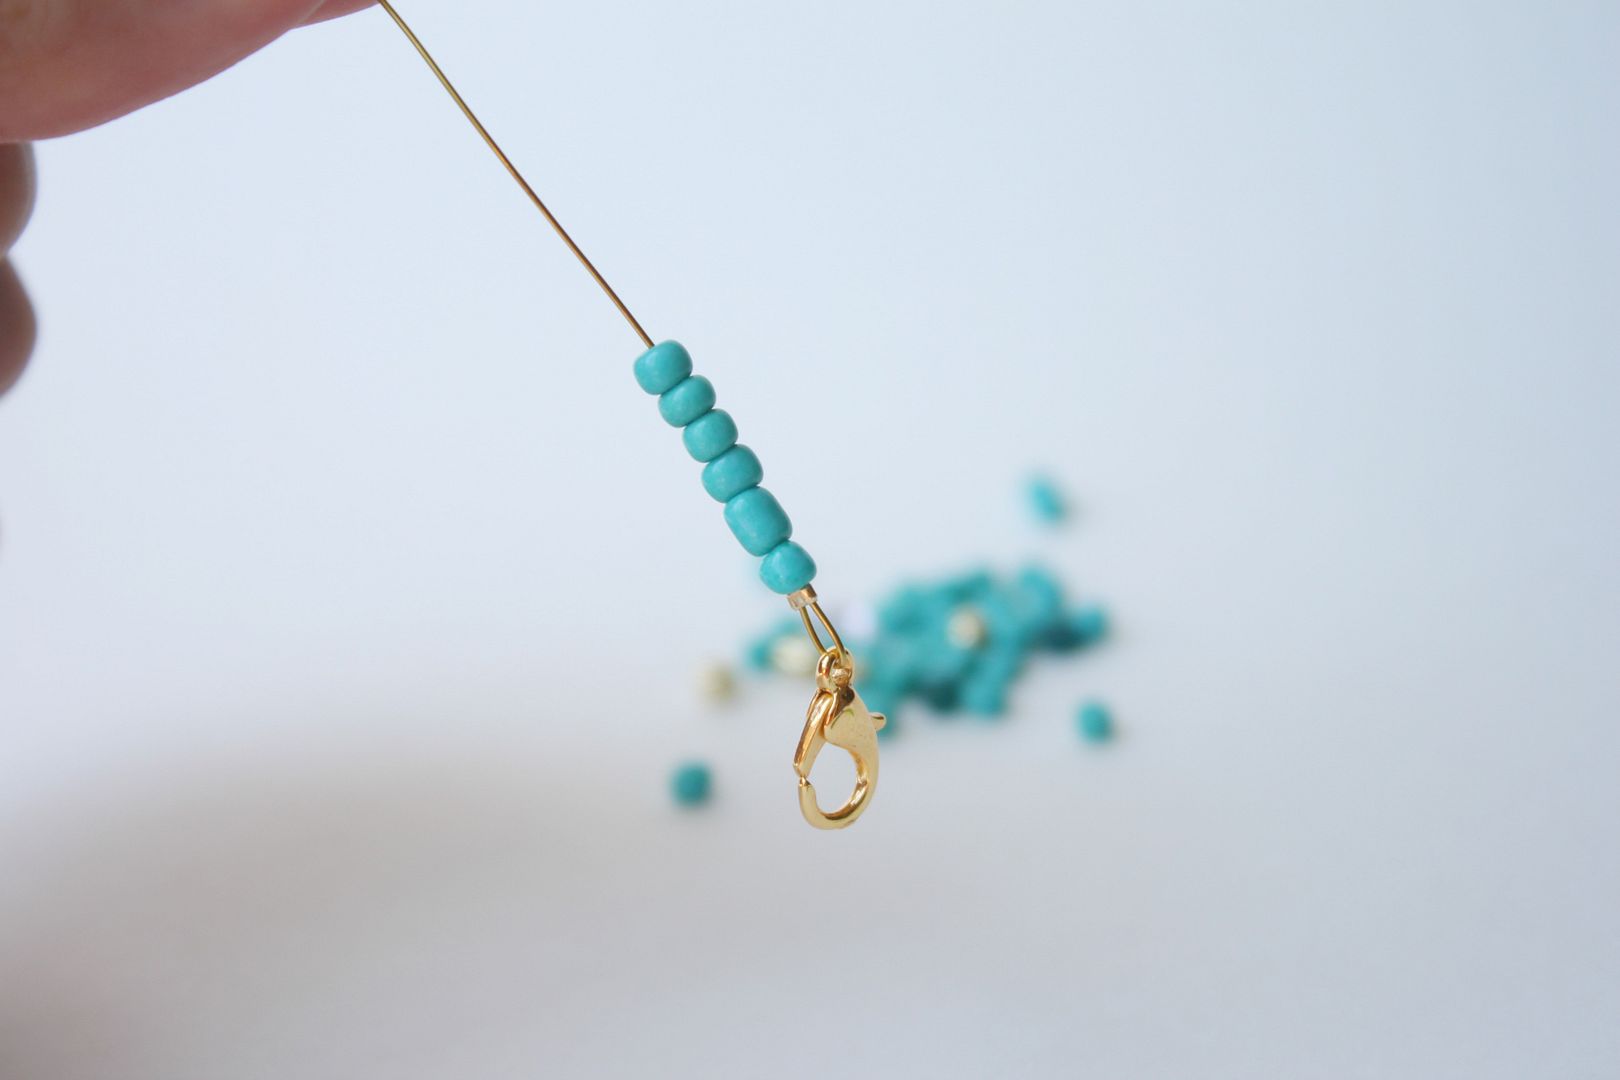
Use scissors to cut your wire according to your wrist size. Attach the crimp bead and lobster clasp to one of the ends.

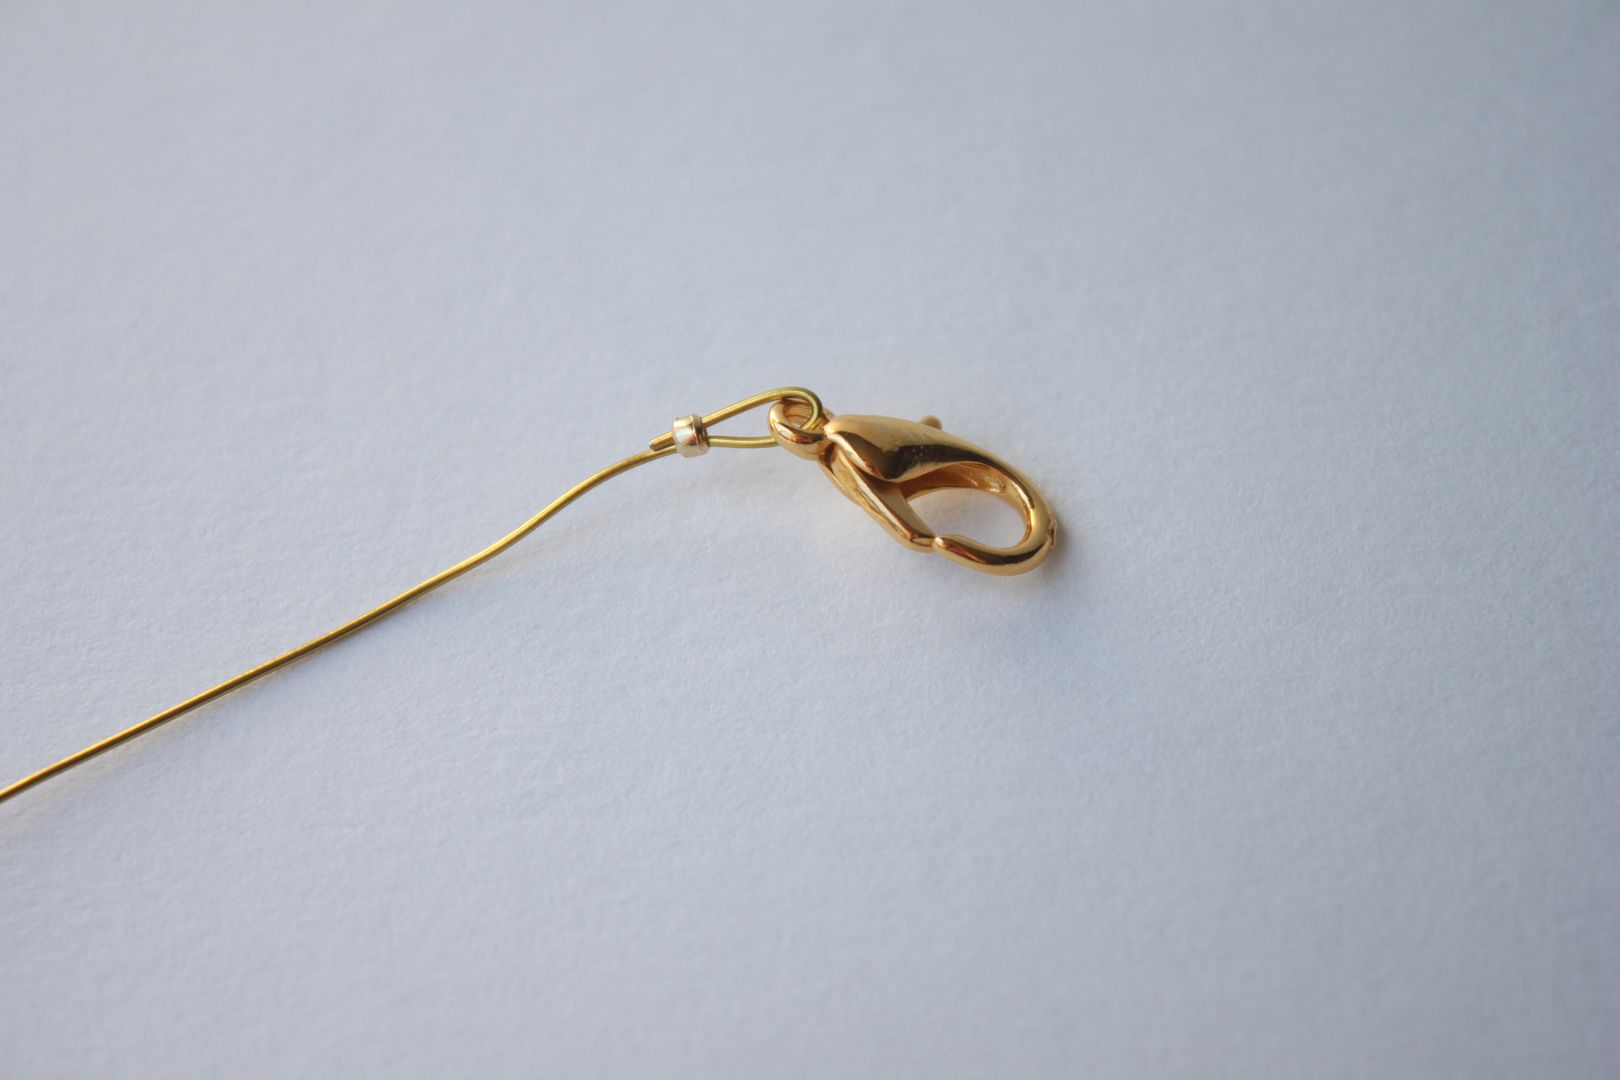
Bend the end of the wire to make a loop and string it through the crimp bead. Use the pliers to clamp the crimp bead so it closes.

Begin stringing your beads on...

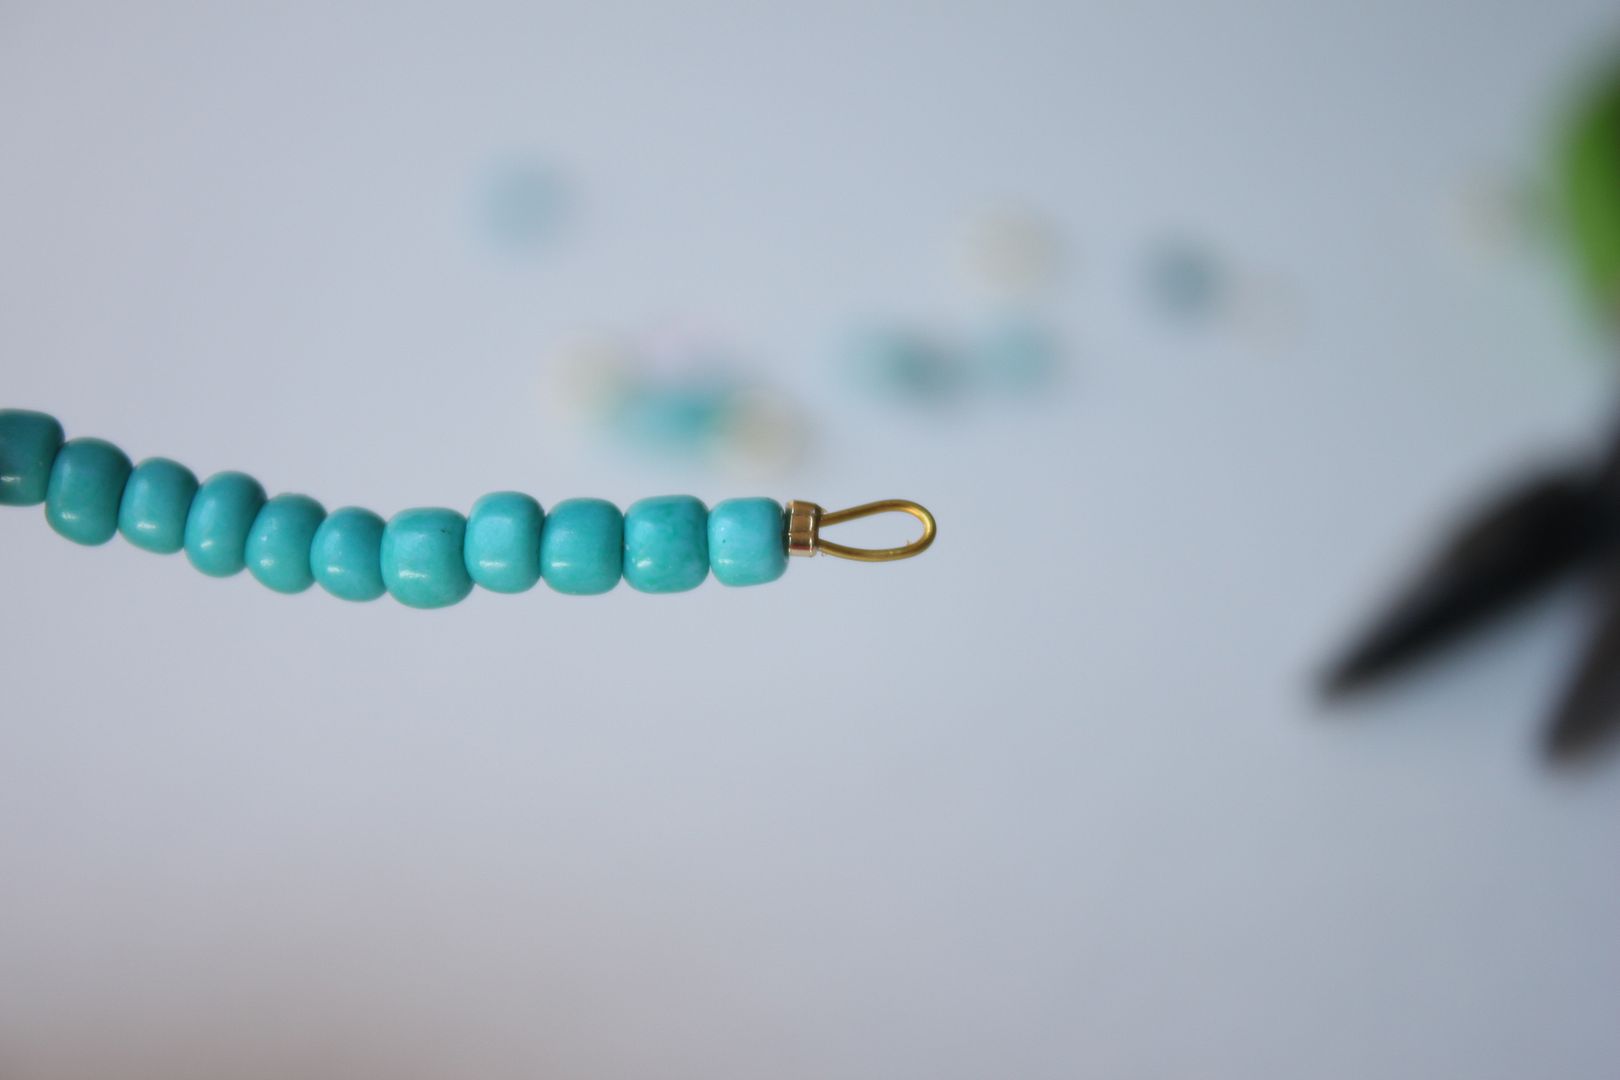
When you reach the end, place a crimp bead there and make another loop with the end of the wire just like you did in the beginning. Make sure you leave yourself enough slack. It is always better to start with a longer piece of wire rather than a shorter one just in case you need more room.

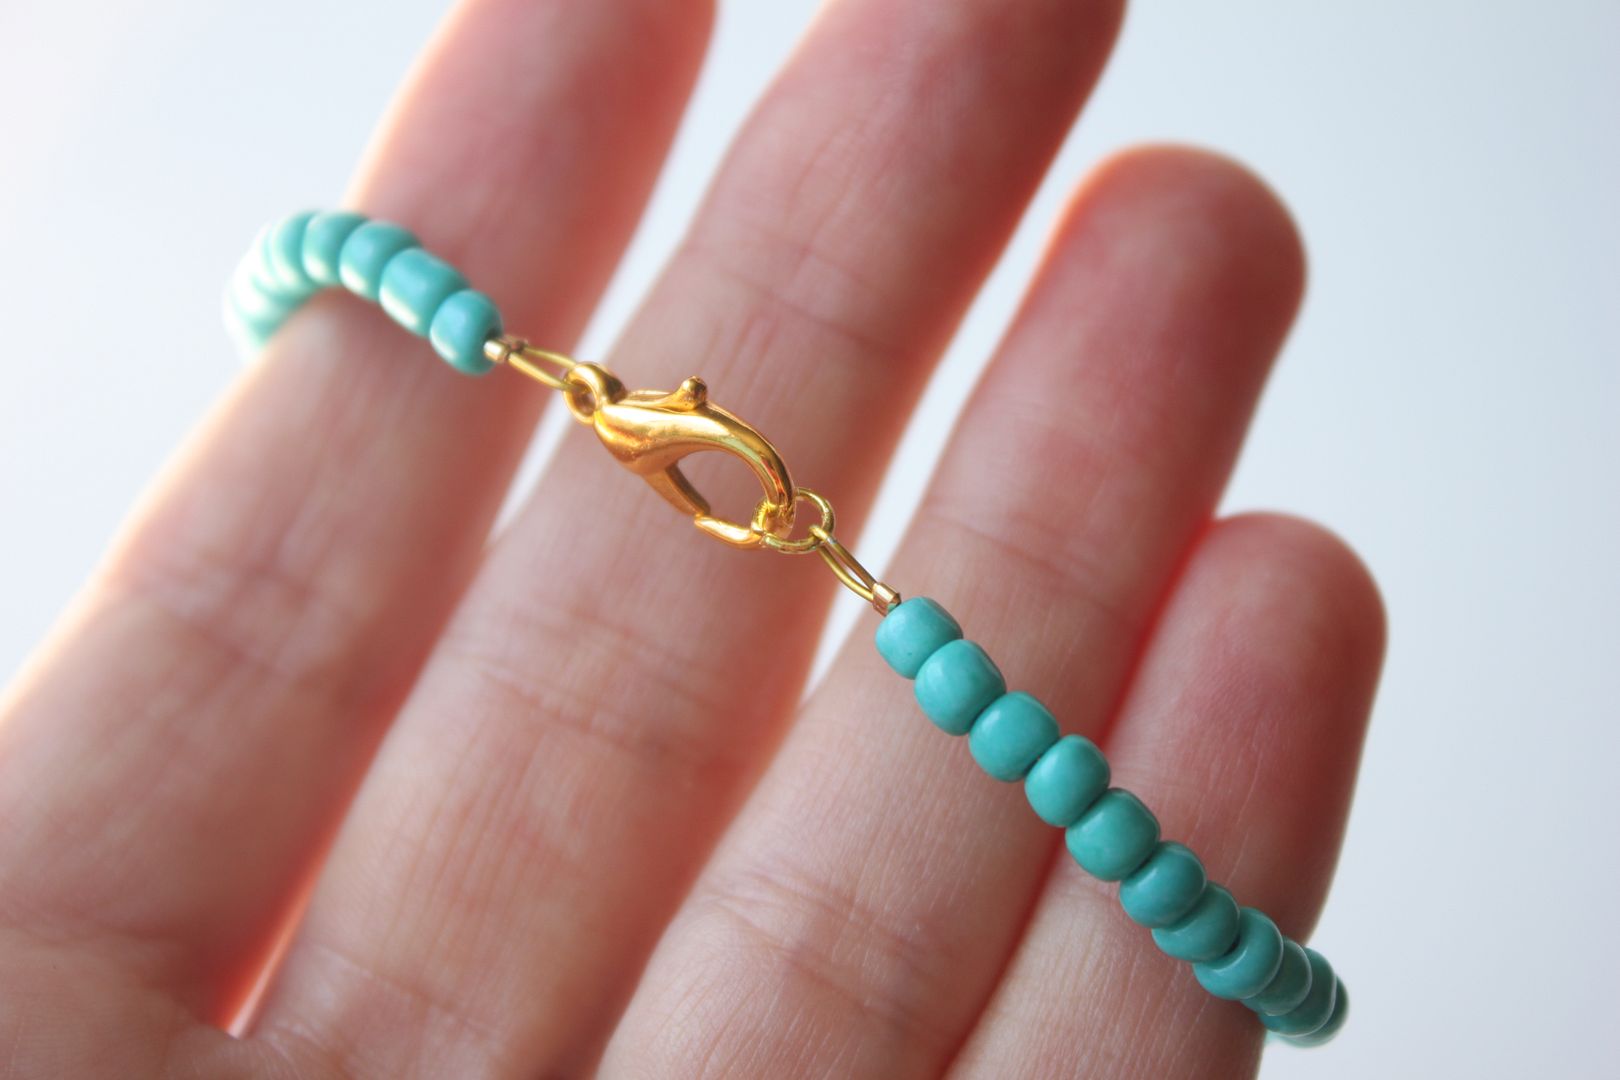
Using your pliers, open the jump ring and attach it to the end of the loop. You actually can skip this step if you want but I think it makes it look more finished.

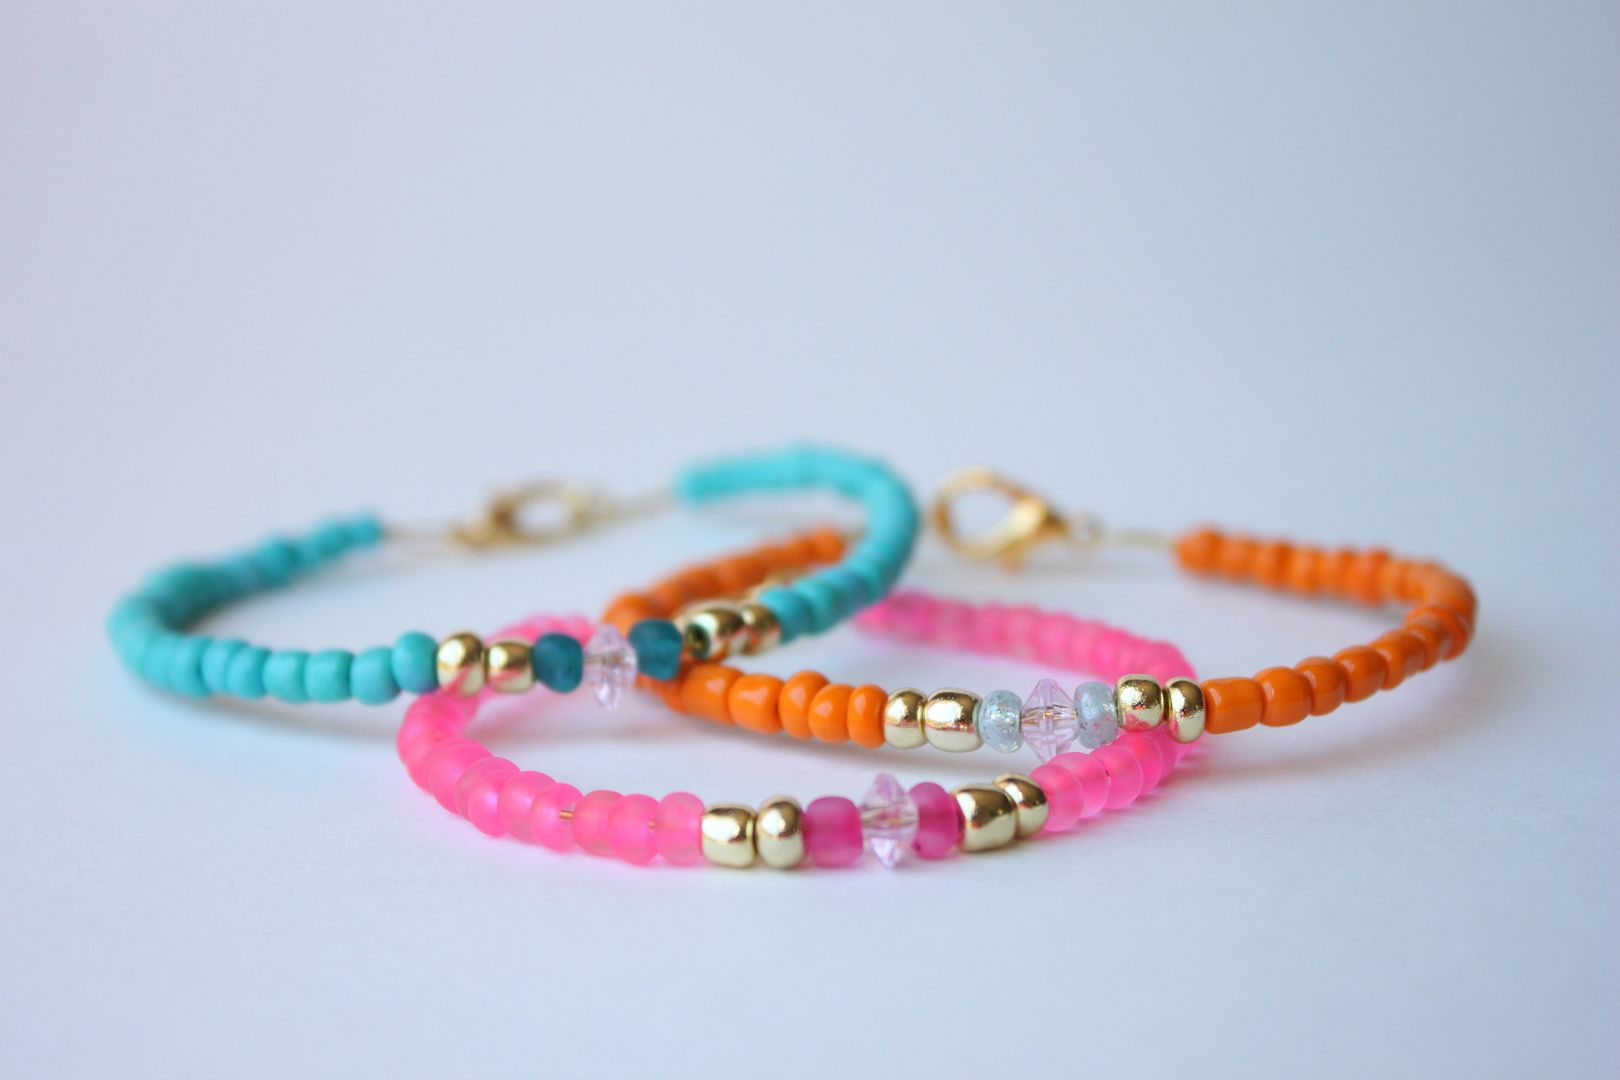
Make as many as you want and stack em on your wrist!